Editing object card details is an important step to highlight relevant information and details. This guide will walk you through the process of drawing property boundaries and marking special locations using points. Whether you are creating a new object or editing an existing one, this guide will help you use the map efficiently.
Step 1: Open the Object
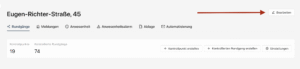
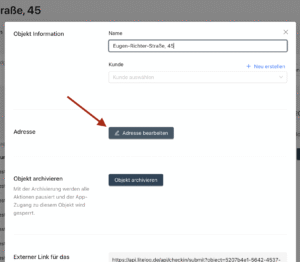
To begin editing the map, first open the desired object. Click the Edit button in the upper right corner and then select Edit Address.
Step 2: Open the Map in Edit Mode
The map will now open in edit mode. On the left side, you will see an overview of all elements that have already been added. Here you can review and adjust the existing information at any time.
To draw new property boundaries or mark special points, use the toolbar displayed at the bottom. Select the desired tool to continue.
Step 3: Save changes
After you have made all desired adjustments, click Next to confirm the object name and customer. Then click Next again to review the address. Complete the process by clicking Save to ensure all details are stored.
By following these steps, you can efficiently customize your object cards and ensure that all data is recorded accurately.