Create & Edit a Property (Map Wizard)
A property is the foundation for everything else — rounds, time tracking, incidents, and documents are attached to it. Via Master Data → Properties → "Create", you create a new property in a 4-step wizard on the map. The same wizard is also used to edit the master data of an existing property (Settings → "Edit address").
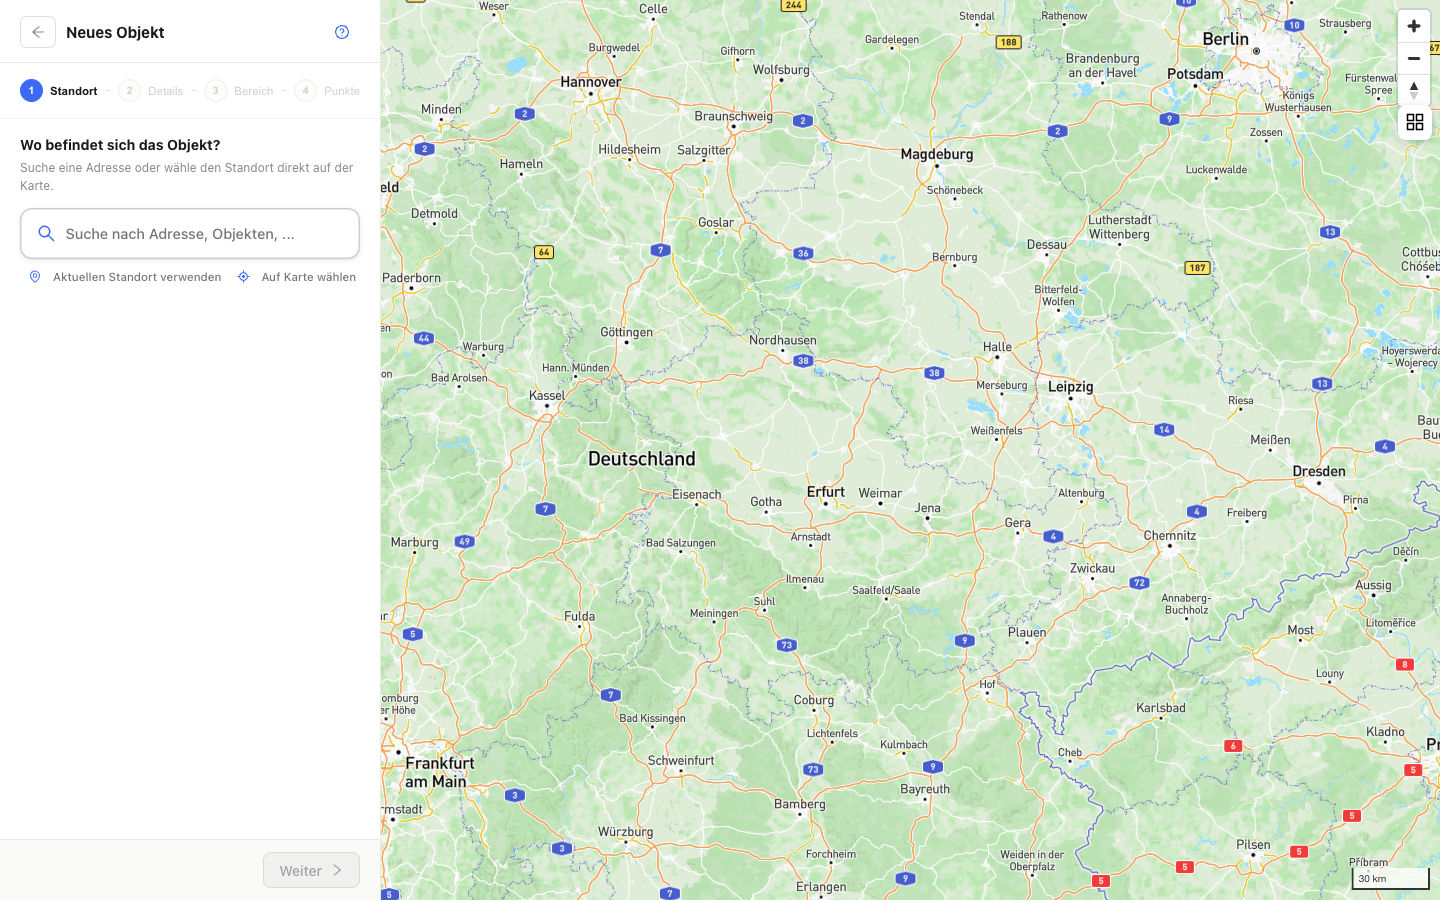
What Is This View For?
This view is built to create or edit a property while defining its location, property area, and important places on the map. It answers:
- We're taking on a new property — how do I create it?
- Where may employees be located to clock in/out (property area)?
- Where are the entrance, key storage, emergency exit?
The Wizard in 4 Steps
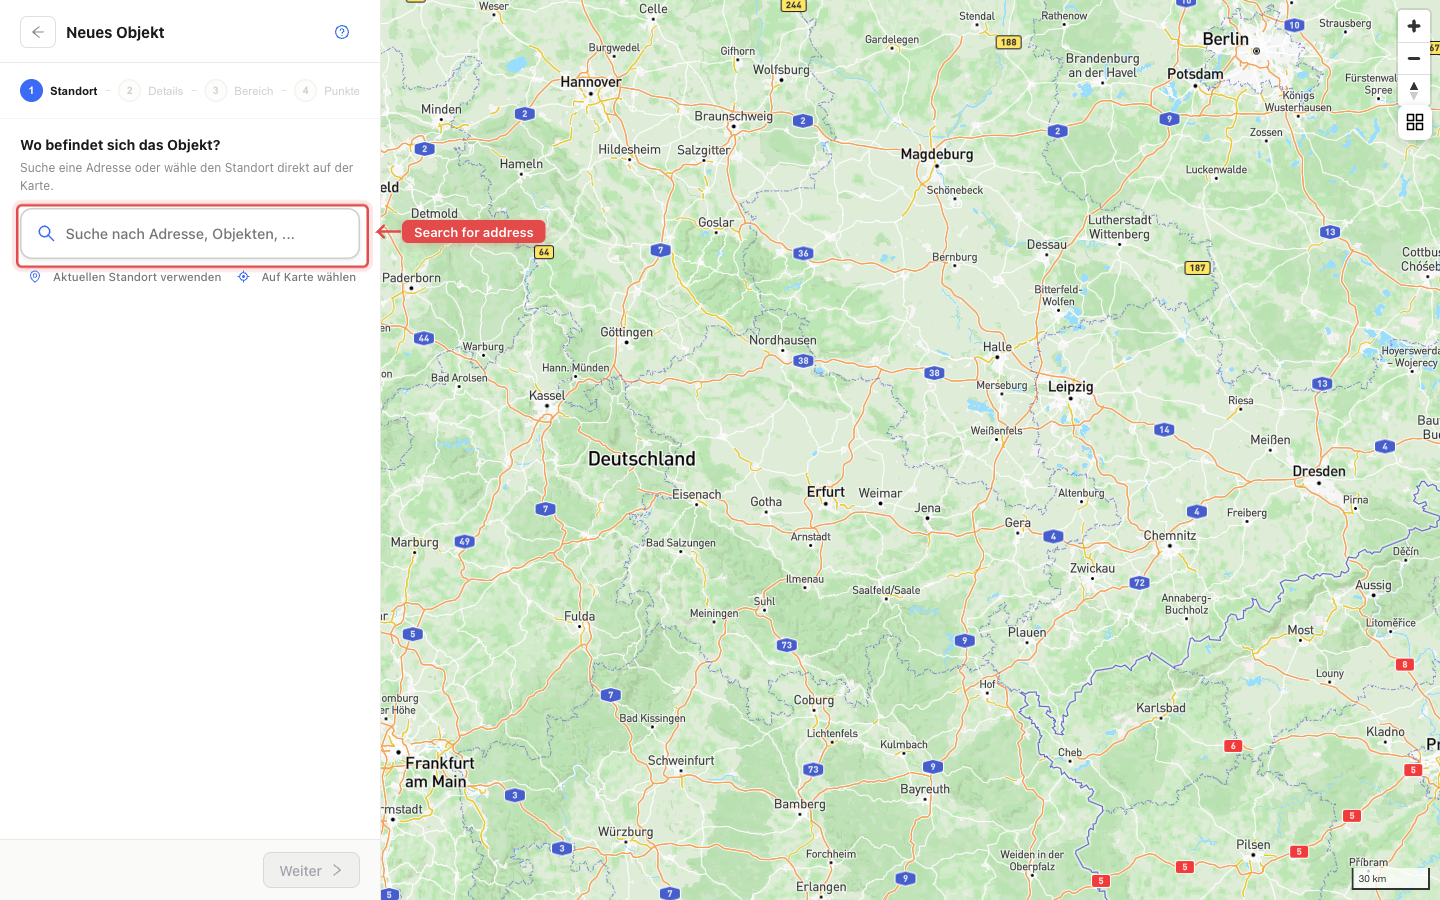
At the top, a bar guides you through the steps Location → Details → Area → Points. Location and Details are required; Area and Points are optional.
1. Location
"Where is the property located?" — three ways to set the location:
- Address search (Europe-wide) — type the address and pick a suggestion.
- Use current location — via the browser location.
- Pick on map — place a point directly on the map.
Coordinates and address fields are taken from the chosen address; the property name is pre-filled from the place.
2. Details (Master Data)
| Field | Description |
|---|---|
| Property name (required) | pre-filled from the address, freely editable |
| Address (required) | from step 1; manually adjustable via "Change" (street, house number, postal code, city, country, region) |
| Customer (optional) | assign the property to a customer — search or create one directly via "Create customer" |
:::note Customer only with the customer package The customer field only appears if your account has the customer package. If the wizard is opened from a customer view, the customer is pre-filled. :::
3. Property Area
"Define the clock-in area — where may people check in and out?" Two options:
- Polygon — draw the allowed area on the map: tap each corner point, a double-click finishes the polygon. Besides the polygon, the toolbar also offers rectangle and freehand drawing. Corner points can then be moved/inserted/deleted; "Redraw" discards everything. When clocking in, the location is checked against this area. (Multiple polygons possible; limits: 100 points per polygon, 50 points in total.)
- None — no property area → no location check when clocking in. Suitable for mobile shifts without a fixed location.
:::info Zones are not a wizard step You do not manage clock-in zones and restricted zones here, but on the property in the "Zones" section of the property menu; the area drawn here appears there as the first row Property area — all details under Zones. :::
4. Points
"Place points on the map — mark important places (entrance, key storage, emergency exit)." With "+ Add point", you tap a spot on the map and name it ("Name point" dialog); points can be renamed or deleted.
:::info Points ≠ checkpoints These points are orientation markers on the map (e.g. entrance). They are not the same as a round's checkpoints (NFC/QR tags for scanning) — you create those in the property under Set Up Rounds. :::
Saving
The final button in the last step is labeled "Save". For a new property, LiteLog does not jump to the property overview afterwards — it stays on the same page and starts the guided setup directly (see below). When editing an existing property, you return to the property page after saving.
On creation, the following happens automatically:
- a unique property identifier is assigned,
- for German properties, the holidays for the coming years are created,
- your account's industry determines sensible defaults — which features (time tracking, tasks & rounds, incidents & forms, files, material) are on and which check-in methods are preselected,
- authorized admins may receive a notification email.
Guided Setup After Creation
After saving a new property, the guided setup follows directly on the same page (it can also be started at any time later via the "Setup" button in the header of the property page). The assistant first asks under "What should happen at this property?" about your goals — eight tiles, multiple choice, one tile per property module:
| Tile | Switches at the property |
|---|---|
| Record coming and going | Time tracking |
| Prove control rounds | Tasks & rounds |
| Tick off recurring work | Tasks & rounds |
| Report defects and damage | Incidents & forms |
| Team overview incl. check-in signal | the company switch of the status reporter and this property's proof of life (defaults: interval 30 minutes, grace period 5 minutes) |
| Manage material at this property | Material — if the company switch for material is still off, saving switches it on as well (hint "Saving switches material on for your company …"); without the permission Edit settings the tile is locked and refers you to the licence manager ("Material is switched off for your company — a licence manager enables it under Features.") |
| Team chat for the property | Team chat |
| Provide documents on site | Files |
The tile labels follow your industry (in security, for example, "Time tracking", "Patrol", "Report special occurrences", "Provide duty instructions", "Team chat for the shift"). If your account has no industry yet, that choice comes first — the industry drives the preselection of tiles. If you start the setup on an existing property (header button "Setup"), all tiles are prefilled from the currently enabled modules; on saving, time tracking, tasks & rounds, incidents & forms, files, team chat and material are set according to your selection — a deselected tile switches its module off. The assistant then only walks you through the matching steps:
- Set up time tracking — check-in methods and a first shift preset (only with "Record coming and going")
- Set up the patrol — create the first checkpoints (QR/NFC); optionally with a daily round template (only with "Prove control rounds")
- Create first tasks — first recurring tasks (only with "Tick off recurring work")
- Review incident reports and forms — review categories and forms, optionally enable AI classification (only with "Report defects and damage")
- Provide documents and images — upload documents (only with "Provide documents on site")
- Finish on site — app download, check-in QR for posting, order NFC tags (always)
Alert rules are no longer a separate step — you set them up under Automation (Property). Via "Close" in the top right you can leave the setup at any time and land on the property overview; everything can be done later.
Edit an Existing Property
In the property, open the Settings tool entry and click "Edit address" in the "Address" row. The wizard opens with the property's data pre-filled — name, customer, address, and the property area are maintained exclusively here. Whether the area acts as a location check is configured per feature (time tracking → "Proof" section, rounds, incidents); zones are managed on the property under Settings → "Restricted zones" and Time Tracking → "Zones".
Permissions
:::info Permission To open, you need View live map or Edit properties; to create, Create properties. :::
| Action | Permission |
|---|---|
| Open wizard/map | View live map or Edit properties |
| Create property | Create properties |
| Edit property | Edit properties |